分类: 未分类
树莓派安装SSL证书
根据自己的网站服务器来选择下载不同的ssl证书包括:
1_root_bundle.crt # 证书文件
2_xxx.xxx.xxx.crt # 证书文件
3_xxx.xxx.xxx.key # 私钥文件
配置证书
在这里,我假设你已经会配置基本的/etc/apache2/sites-available/000-default.conf这个文件来达到已经可以通过 http 的方式来访问你的站点。
在/etc/apache2这个目录下,有两个有关的目录sites-available和sites-enabled,我们进入sites-enabled目录下可以发现,里面有一个文件000-default.conf
lrwxrwxrwx 1 root root 35 Dec 28 15:24 000-default.conf -> ../sites-available/000-default.conf
实质上这个文件是/etc/apache2/sites-available/000-default.conf这个文件的软链接。
我们要配置另 ssl 证书,要依靠另一个文件,也就是default-ssl.conf,首先我们需要设置一个软链接,把这个文件链接到sites-enabled这个文件夹中:
ln -s /etc/apache2/sites-available/default-ssl.conf /etc/apache2/sites-enabled/000-default-ssl.conf
然后去修改这个文件000-default-ssl.conf,因为已经做了软链接,其实这时候修改000-default-ssl.conf或default-ssl.conf都一样。
nano /etc/apache2/sites-enabled/000-default-ssl.conf
这个文件没有做任何修改前长这样子(去除自带的注释之后):
	<IfModule mod_ssl.c>
	<VirtualHost _default_:443>
		ServerAdmin webmaster@localhost
	DocumentRoot /var/www/html

	ErrorLog ${APACHE_LOG_DIR}/error.log
	CustomLog ${APACHE_LOG_DIR}/access.log combined

	SSLEngine on

	SSLCertificateFile	/etc/ssl/certs/ssl-cert-snakeoil.pem
	SSLCertificateKeyFile /etc/ssl/private/ssl-cert-snakeoil.key

	<FilesMatch "\.(cgi|shtml|phtml|php)$">
			SSLOptions +StdEnvVars
	</FilesMatch>
	<Directory /usr/lib/cgi-bin>
			SSLOptions +StdEnvVars
	</Directory>

</VirtualHost>
然后把下载好的证书(3个文件)传到你自定义的目录中
然后我们需要修改一下,修改成这样:
	DocumentRoot /var/www/你的目录
    ServerName 你的域名

	ErrorLog ${APACHE_LOG_DIR}/error.log
	CustomLog ${APACHE_LOG_DIR}/access.log combined

	SSLEngine on
	# 注意,需要添加这三行
	SSLCertificateFile 你自定义的路径/2_xxx.xxx.xxx.crt
	SSLCertificateKeyFile 你自定义的路径/3_xxx.xxx.xxx.key
	SSLCertificateChainFile 你自定义的路径/1_root_bundle.crt

	<FilesMatch "\.(cgi|shtml|phtml|php)$">
			SSLOptions +StdEnvVars
	</FilesMatch>
	<Directory /usr/lib/cgi-bin>
			SSLOptions +StdEnvVars
	</Directory>
</VirtualHost>
重要的三个参数的作用如下表:
配置文件参数 说明
SSLEngine on 启用 SSL 功能
SSLCertificateFile 证书文件
SSLCertificateKeyFile 私钥文件
SSLCertificateChainFile 证书链文件
改好之后保存。
然后这时,我们加载一下 Apache2 的 SSL 模块:
sudo a2enmod ssl   #加载模块
sudo service apache2 restart # 重启服务
这时,在浏览器输入https://你的域名应该已经可以通过 https 的方式来访问网站了,这时浏览器那里应该也已经有了一个绿色的小锁。
但是,但是…这还不够,因为我们如果不主动输入https://的话,直接输入域名,还是会直接跳转到 80 端口的普通的 http 方式访问,所以我们需要强制使用 https 来访问
强制使用https
我们只需要打开/etc/apache2/sites-available/000-default.conf这个文件,在你的VirtualHost*:80这个标签内随便一个地方加上三行:

nano /etc/apache2/sites-available/000-default.conf
RewriteEngine on
RewriteCond   %{HTTPS} !=on
RewriteRule   ^(.*)  https://%{SERVER_NAME}$1 [L,R]
然后保存,然后启动 Apache2 的重定向:
sudo a2enmod rewrite
然后再重启 Apache2,至此大功告成:
sudo service apache2 restart
然后,打开浏览器直接输入域名,就会自动跳转到 https 的方式。
密码保护:mixleg SSL文件
wordpress插件brizy国内购买链接

wordpress 应用于企业网站
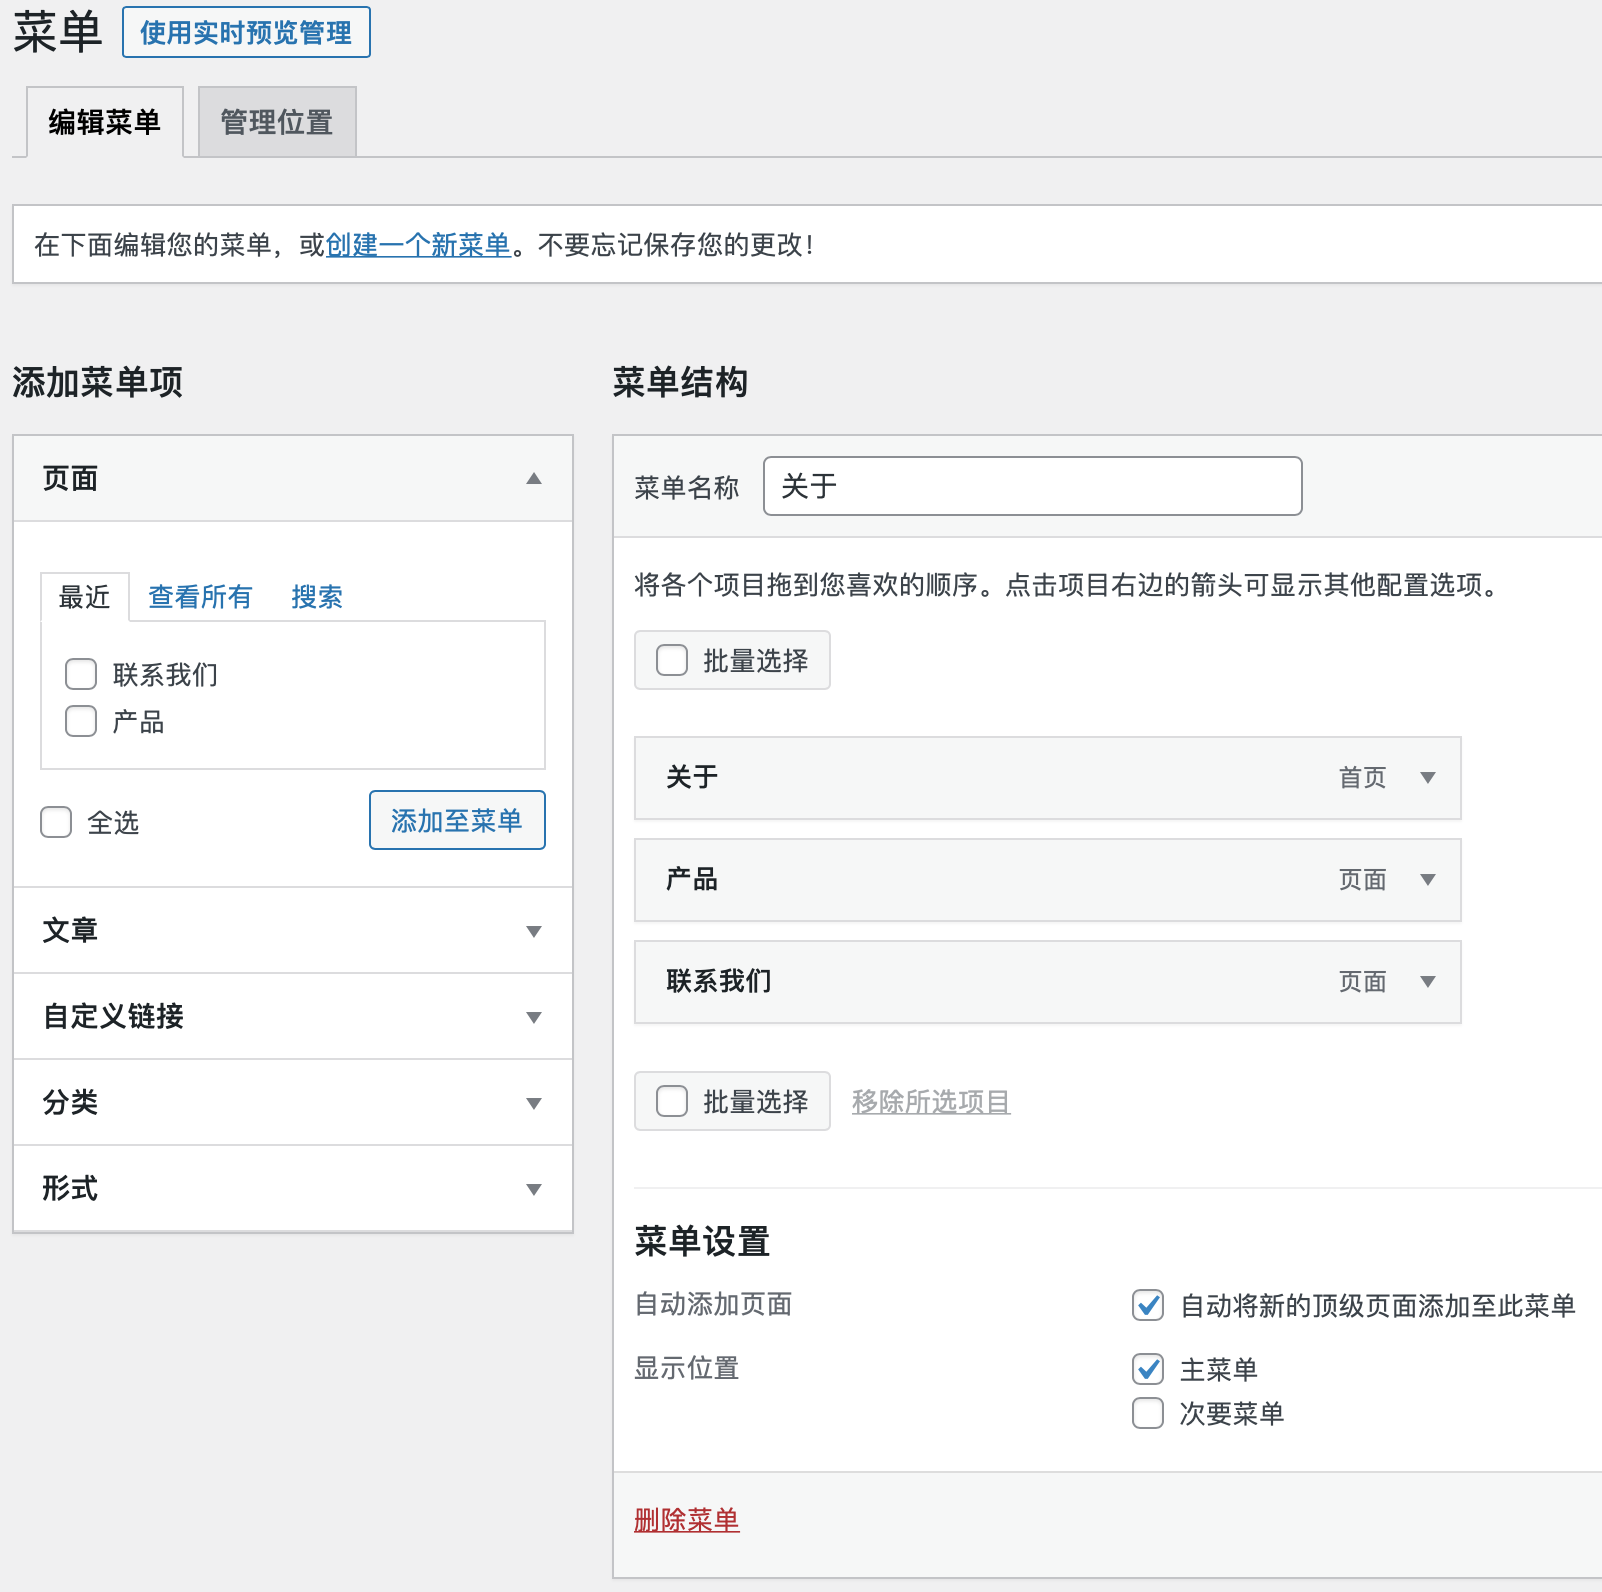
显示位置 设置为 主菜单
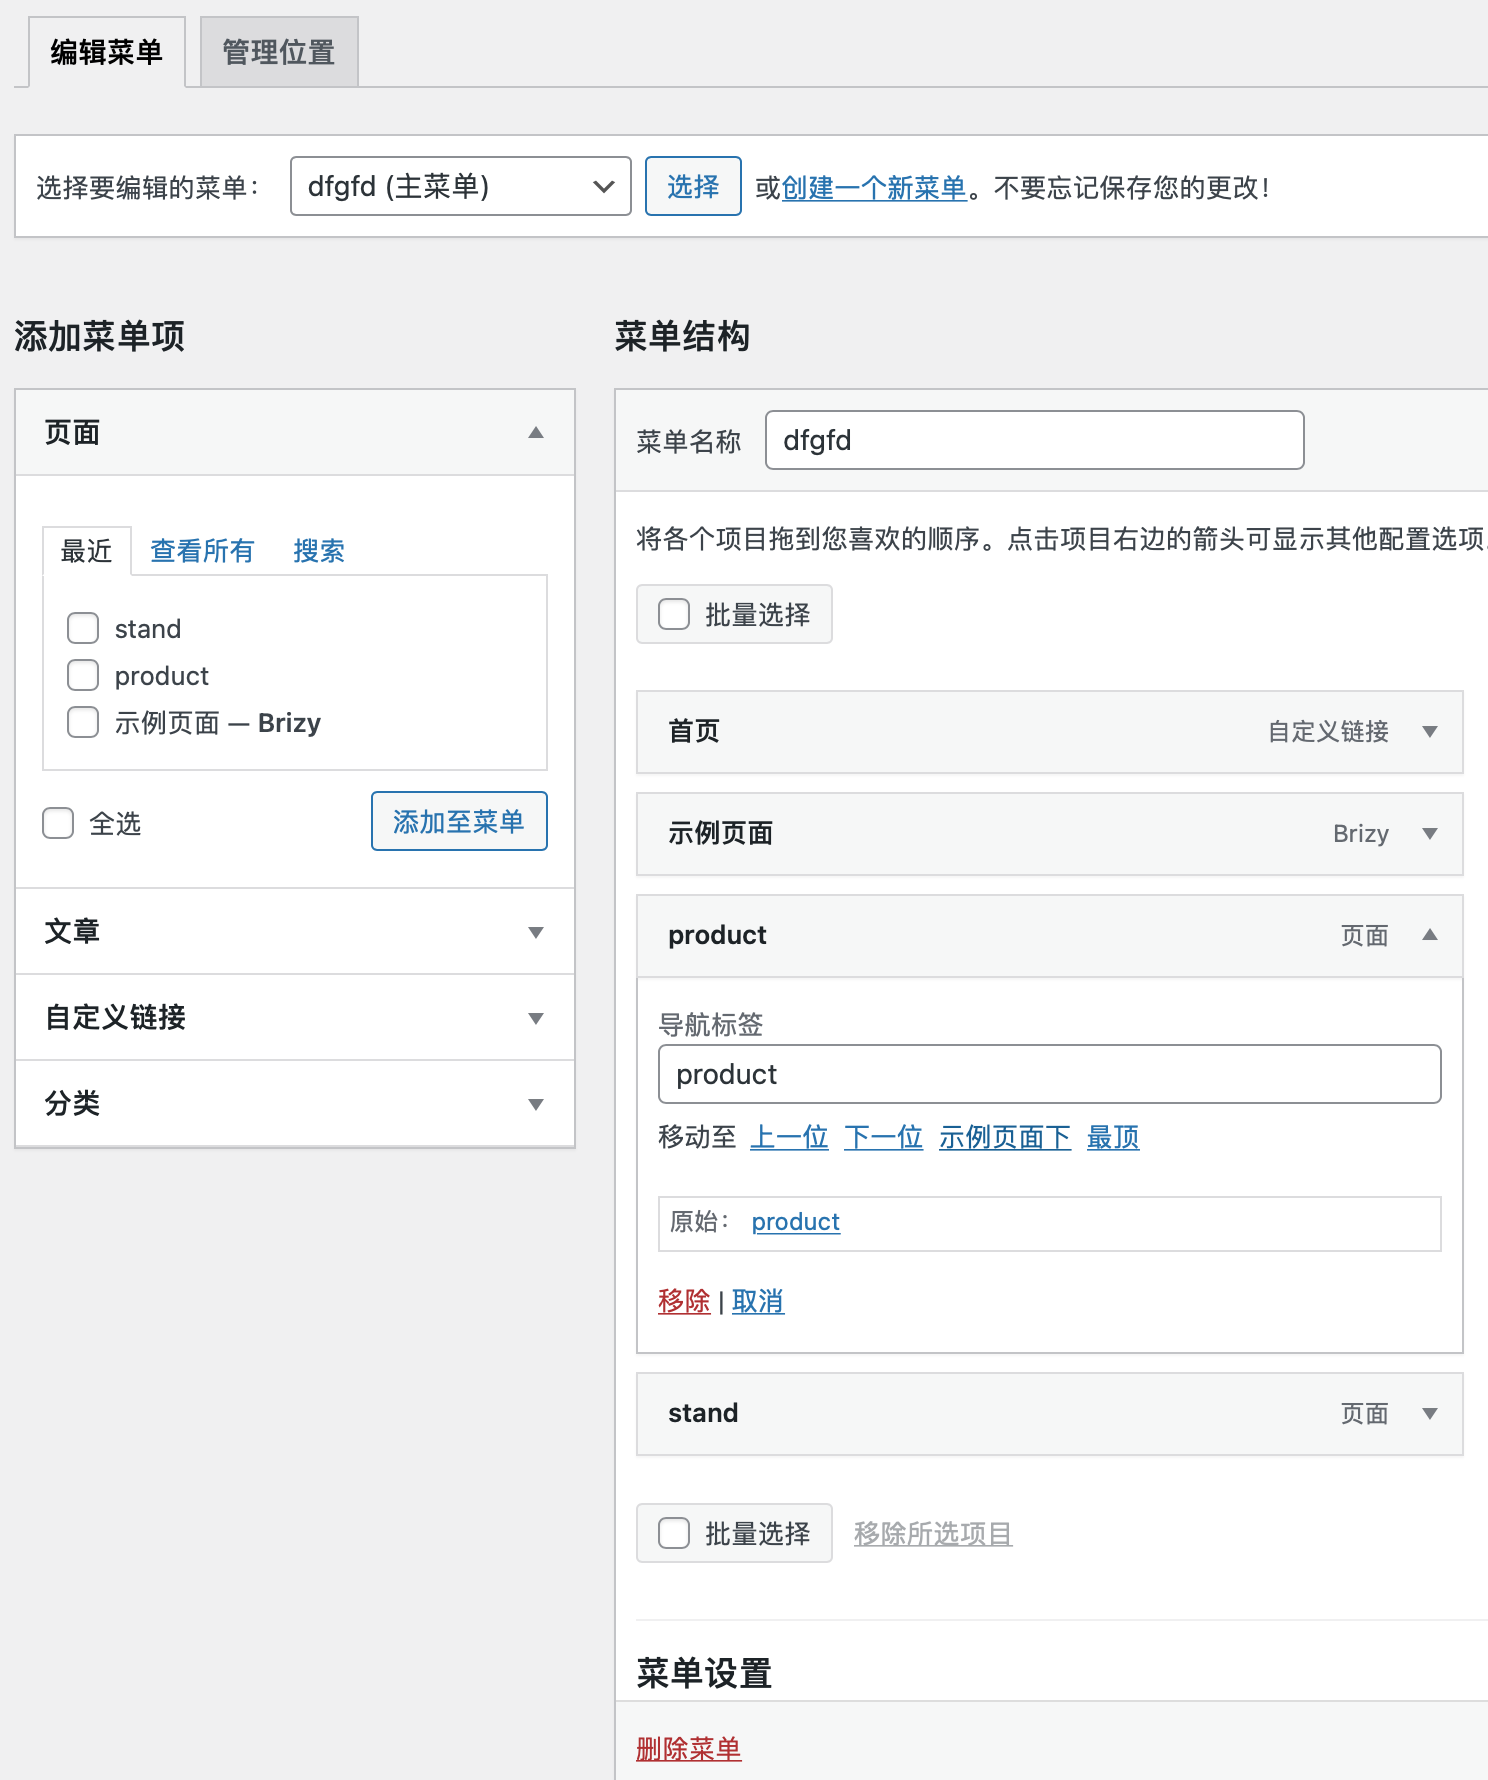
如将链接设置为子菜单,则只需如下图(将本菜单移动至是 示例页面下 即可):
密码保护:openwrt 科学上网
树莓派烧录openwrt后无法上网的解决
How to fix OpenWRT opkg Failed to send request: Operation not permitted – TechOverflow
先设定ip地址(防止与现有路由器地址冲突),同时必须配置网关地址(路由器地址)
进入管理界面, 进入菜单Network/Interfaces 编辑 interface. Set Use custom DNS servers to:
1.1.1.1
1.0.0.1
以上设置完一定要“Save & Apply”
安装中文软件包
opkg update
opkg install luci-i18n-base-zh-cn
linux/树莓派命令行打开程序管理器
sudo pcmanfm /boot
sudo pcmanfm .
sudo pcmanfm /
libreoffice安装中文包
sudo apt-get install libreoffice-l10n-zh-cn
Sony摄像机IMX-519接入树莓派
Step 1: sudo -i
Step 2: nano /boot/config.text
Step 3: Add this in # Automatically load overlays for detected cameras OR [all] section "dtoverlay=imx519"
Step 4: reboot
Step 5: execute this command in terminal libcamera-hello