月度归档: 2022 年 10 月
wordpress插件brizy国内购买链接
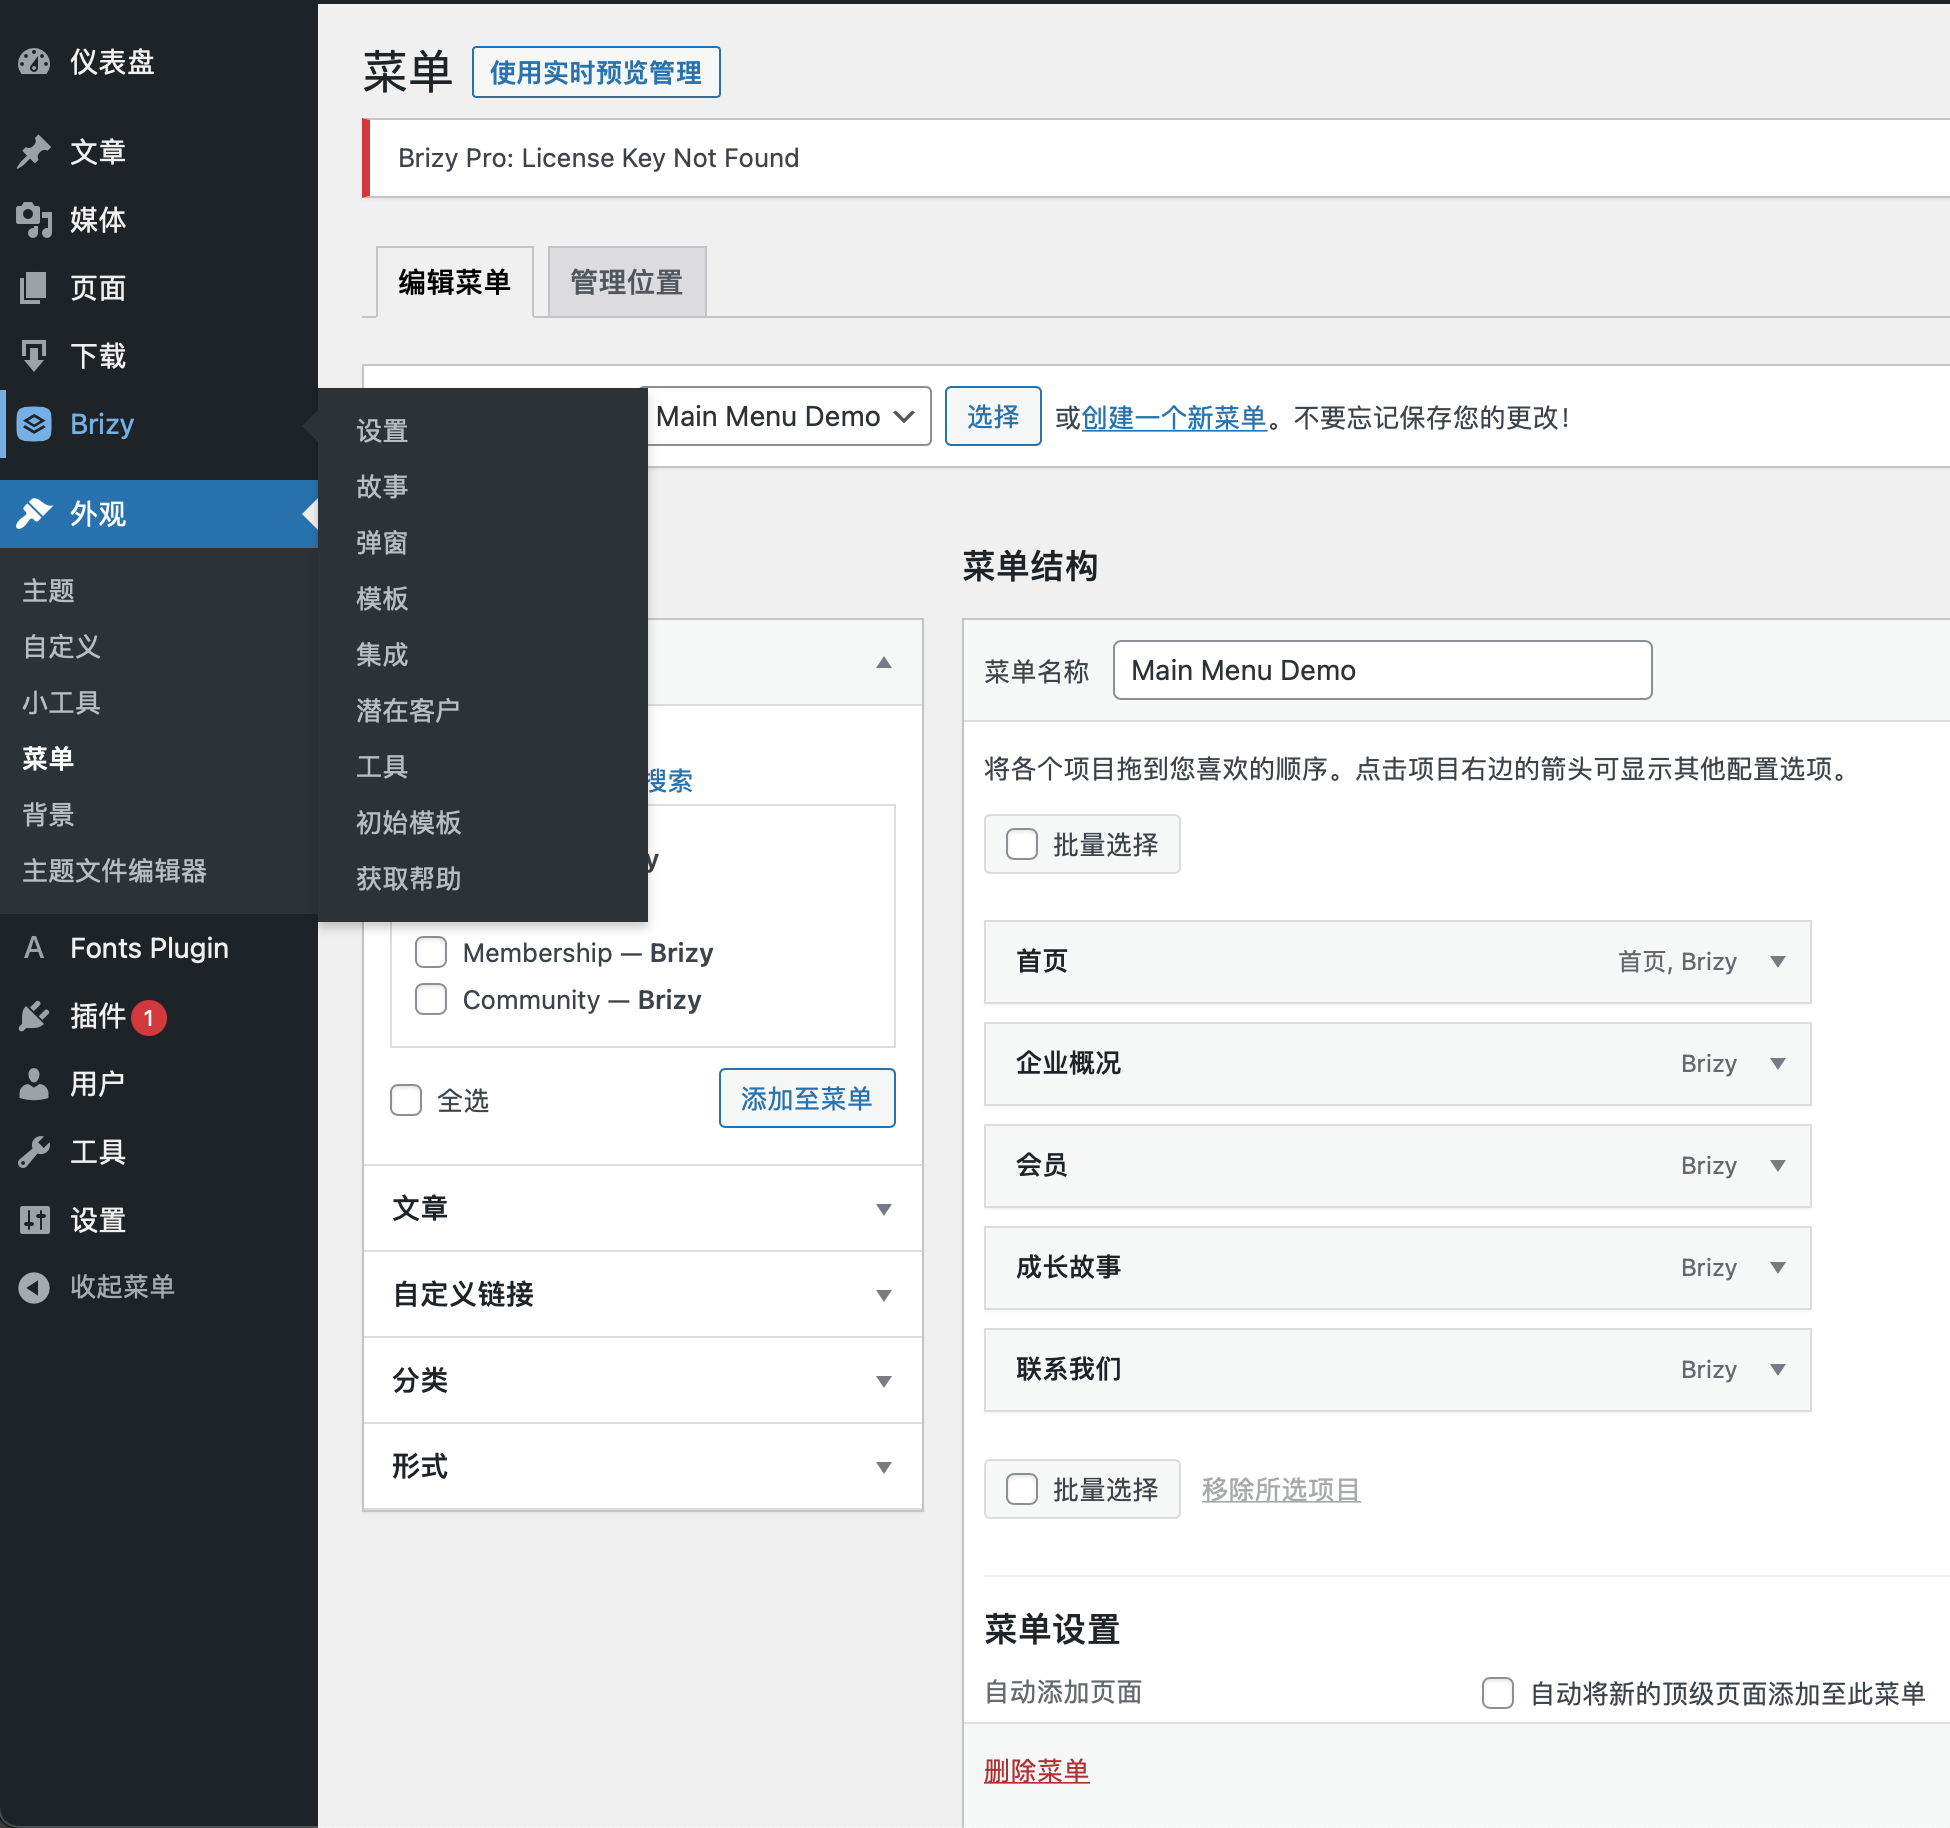

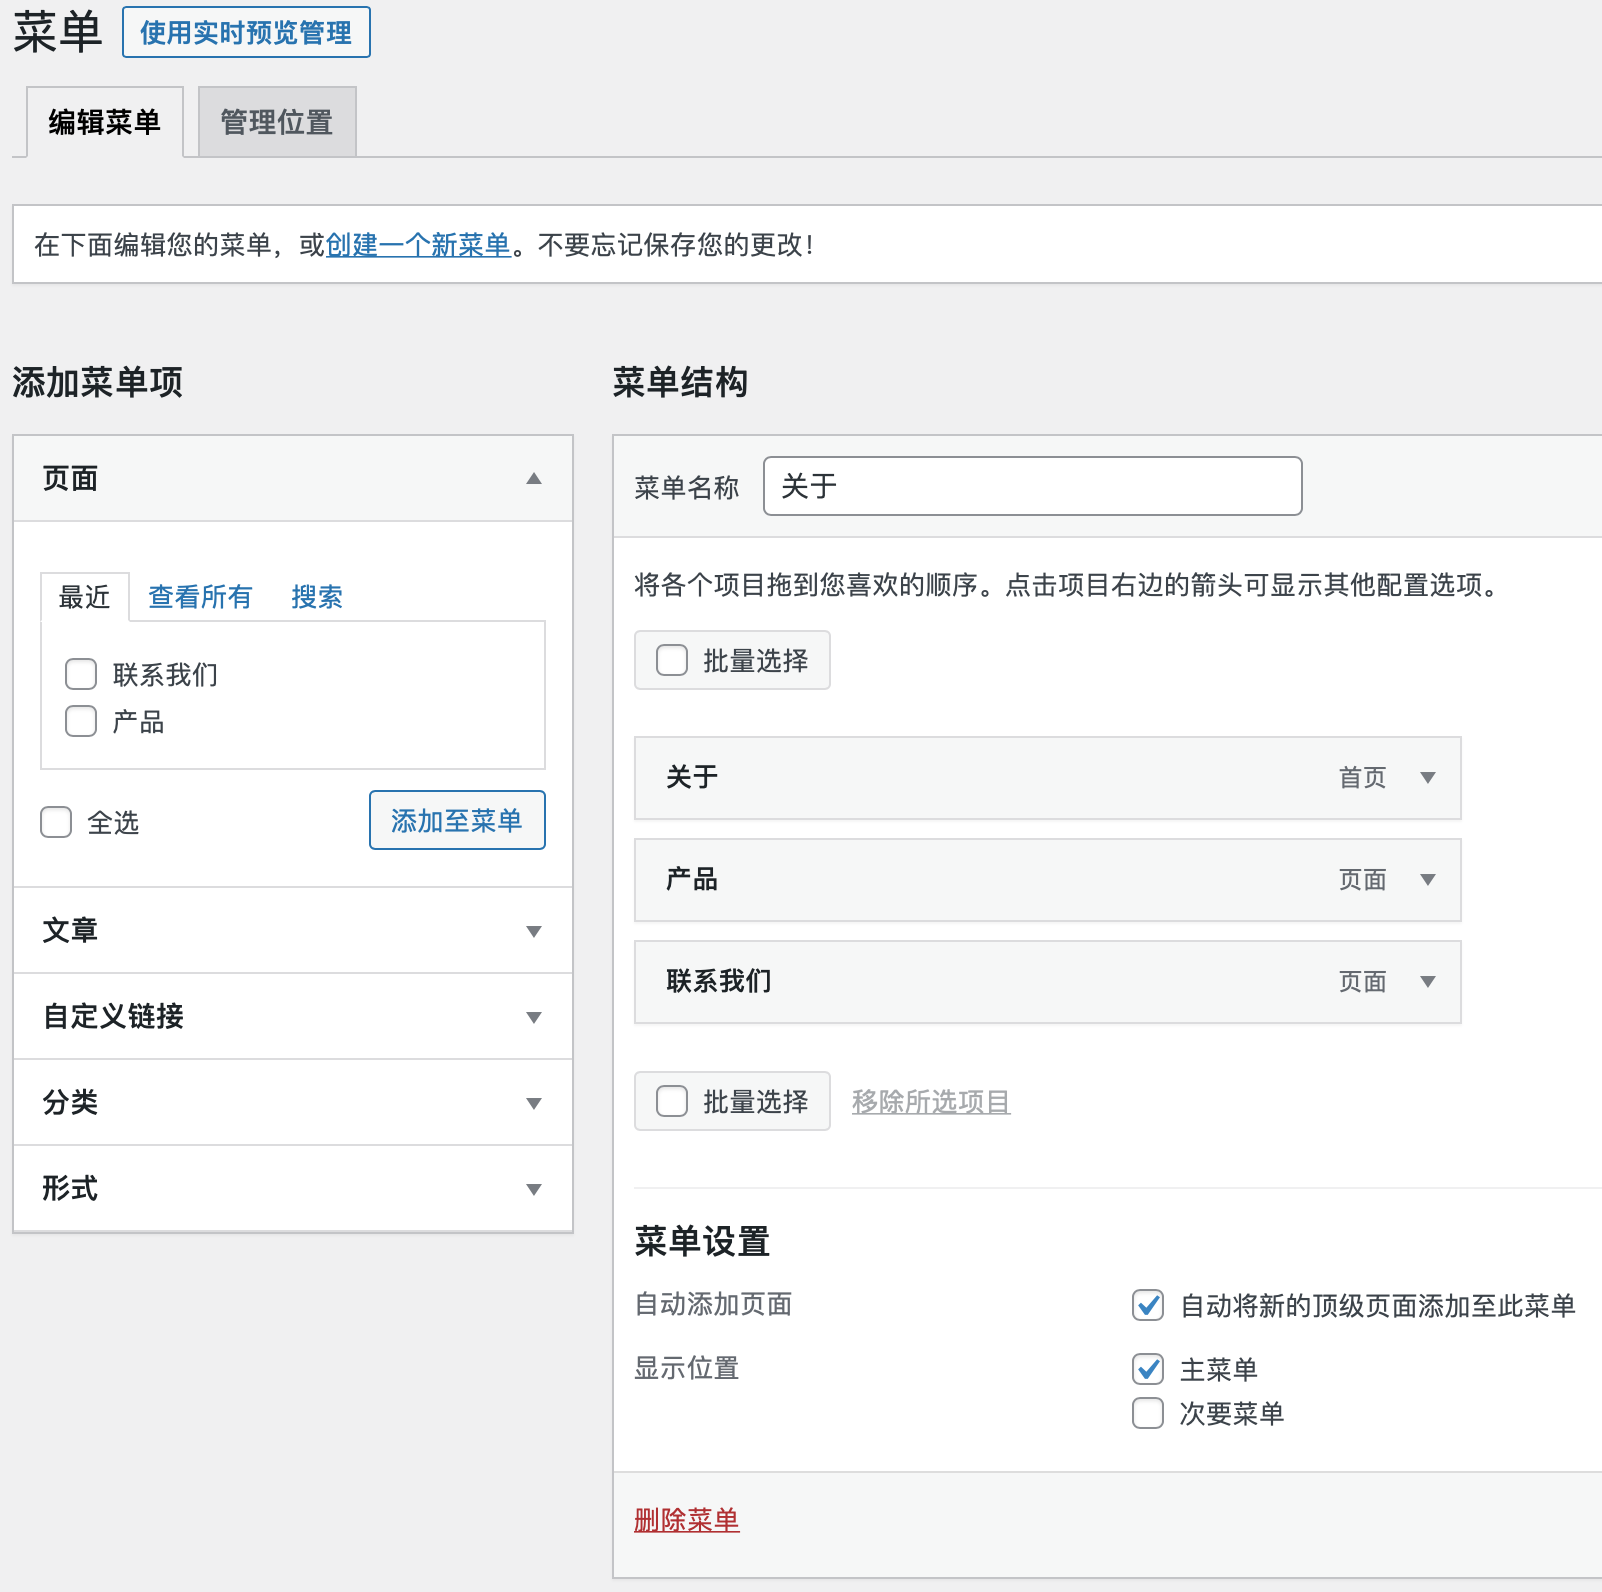
wordpress 应用于企业网站
显示位置 设置为 主菜单
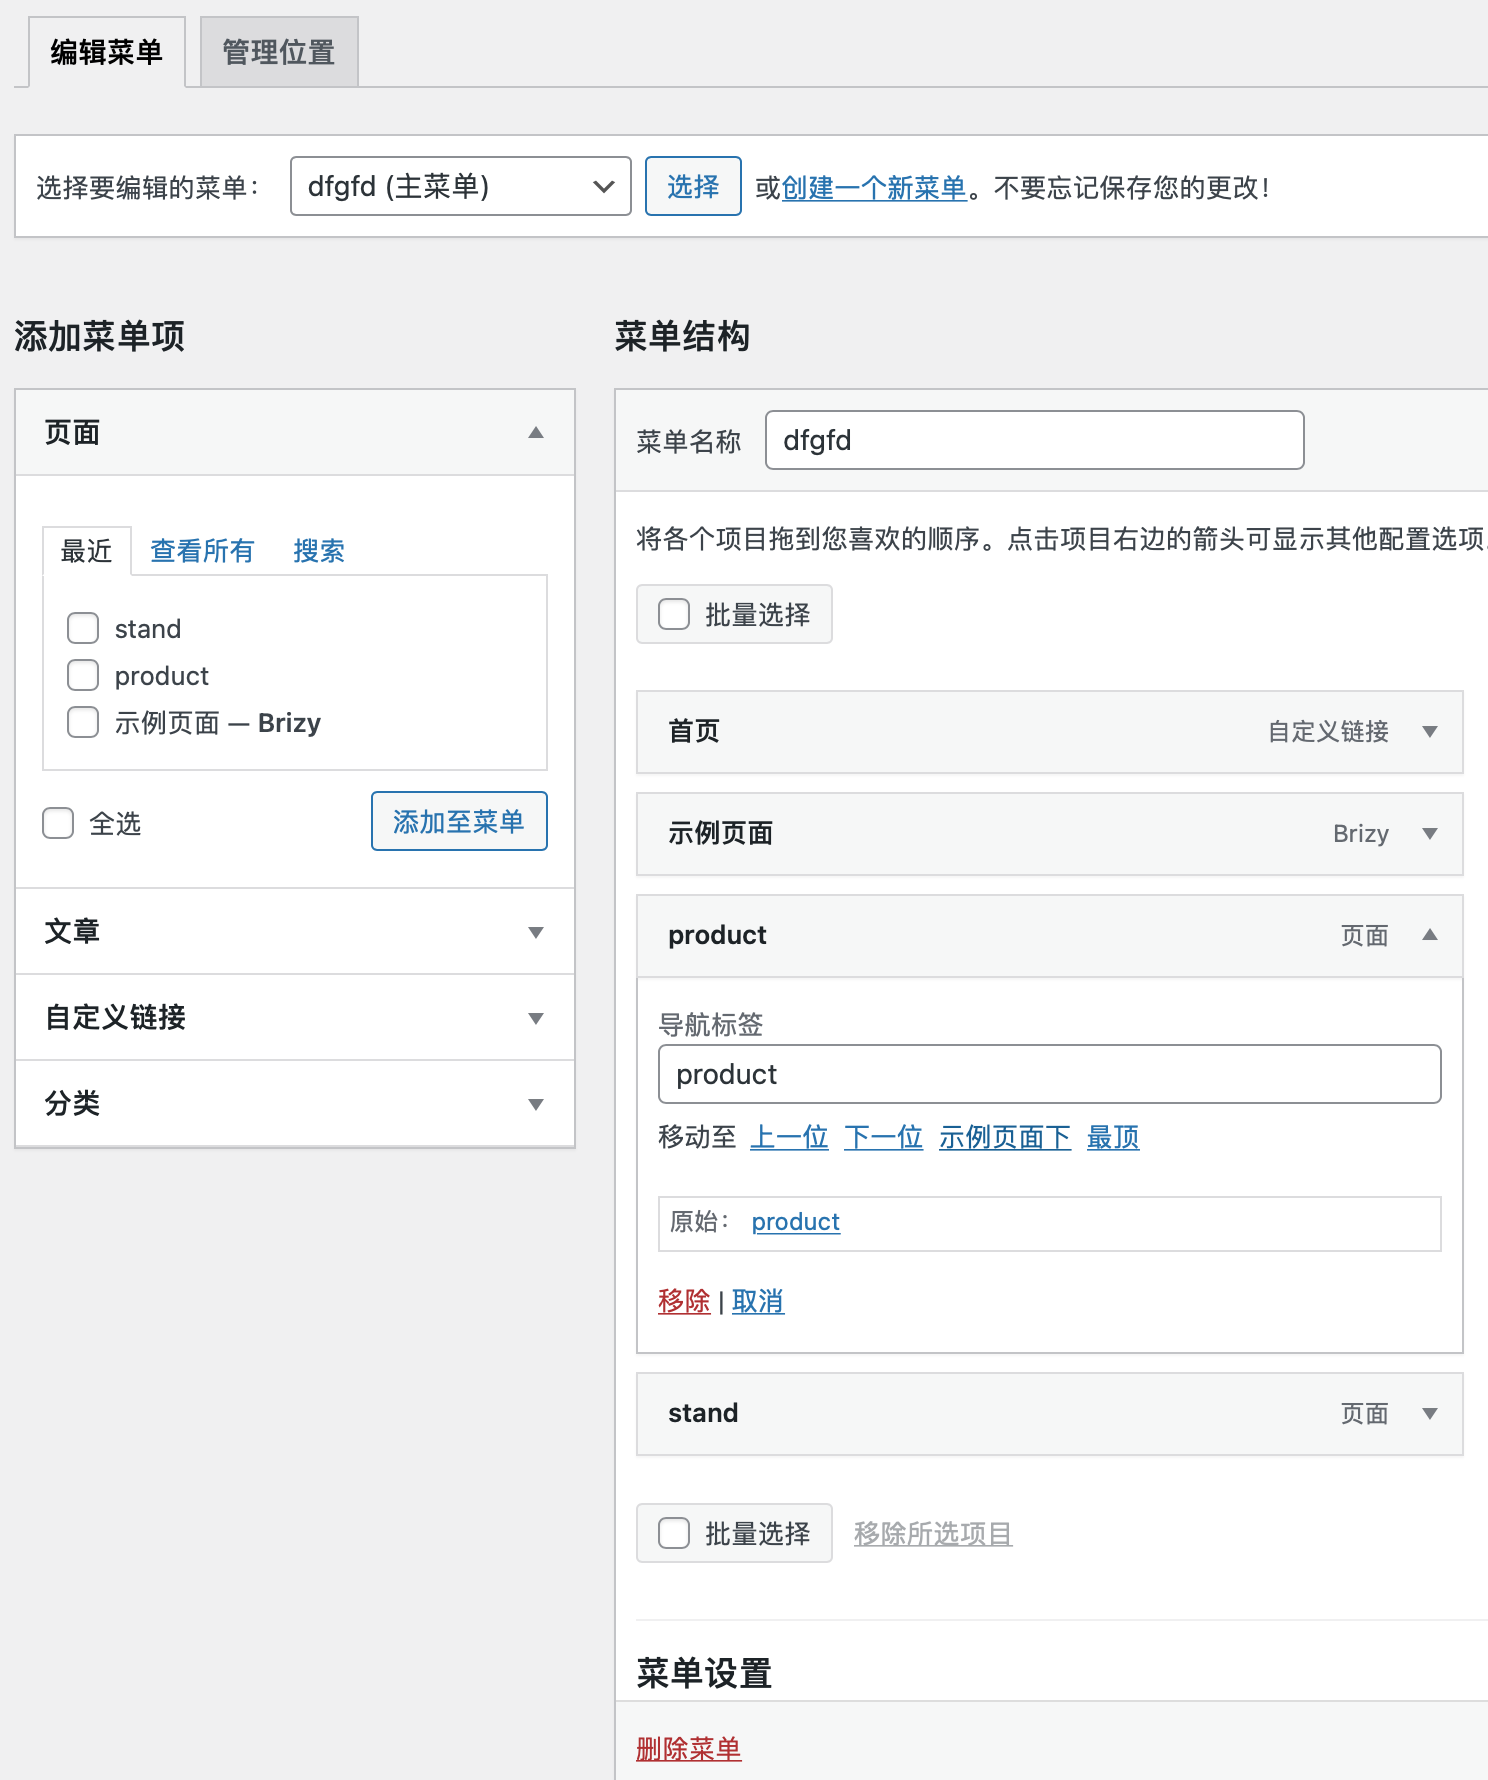
如将链接设置为子菜单,则只需如下图(将本菜单移动至是 示例页面下 即可):
密码保护:openwrt 科学上网
树莓派烧录openwrt后无法上网的解决
How to fix OpenWRT opkg Failed to send request: Operation not permitted – TechOverflow
先设定ip地址(防止与现有路由器地址冲突),同时必须配置网关地址(路由器地址)
进入管理界面, 进入菜单Network/Interfaces 编辑 interface. Set Use custom DNS servers to:
1.1.1.1
1.0.0.1
以上设置完一定要“Save & Apply”
安装中文软件包
opkg update
opkg install luci-i18n-base-zh-cn
linux/树莓派命令行打开程序管理器
sudo pcmanfm /boot
sudo pcmanfm .
sudo pcmanfm /
libreoffice安装中文包
sudo apt-get install libreoffice-l10n-zh-cn
Sony摄像机IMX-519接入树莓派
Step 1: sudo -i
Step 2: nano /boot/config.text
Step 3: Add this in # Automatically load overlays for detected cameras OR [all] section "dtoverlay=imx519"
Step 4: reboot
Step 5: execute this command in terminal libcamera-hello
pico w 联网获取网页信息
import network
import urequests

# set your WiFi Country
rp2.country('CN')
wlan = network.WLAN(network.STA_IF)
wlan.active(True)
# set power mode to get WiFi power-saving off (if needed)
wlan.config(pm = 0xa11140)
wlan.connect('YourHomeSSID', 'YourSSIDPassword')

# Make GET request
r = urequests.get("http://mixleg.com")
print(r.content)
r.close()
远程网页控制
#webled.py
import netman
import socket

from machine import Pin

led = Pin("LED", Pin.OUT)

country = 'CN'
ssid = '2312'
password = 'only'

wifi_connection = netman.connectWiFi(ssid,password,country)

html = """<!DOCTYPE html>
<html>
<head> <title>Pico W</title> </head>
<body> <h1>Pico W</h1>
<p>Current status: %s</p>
<p><a href="http://"""+wifi_connection[0]+"""/light/on">Turn ON</a></p>
<p><a href="http://"""+wifi_connection[0]+"""/light/off">Turn OFF</a></p>
<p>by <a href="http://mixdiy.com">mixdiy.com</a></p>
</body>
</html>
"""


# Open socket
addr = socket.getaddrinfo('0.0.0.0', 80)[0][-1]
s = socket.socket()
s.bind(addr)
s.listen(1)

print('listening on', addr)

# Initialize LED status
led.value(0)
stateis = "LED is OFF"

# Listen for connections
while True:
  try:
    cl, addr = s.accept()
    print('client connected from', addr)
    request = cl.recv(1024)
    print(request)

    request = str(request)[0:50] # The [0:50] avoids getting the url directory from referer
    led_status = request.find('GET / HTTP')
    led_on = request.find('/light/on')
    led_off = request.find('/light/off')
    print( 'led on = ' + str(led_on))
    print( 'led off = ' + str(led_off))

    if led_status >0:
      print("LED status request") # No LED action

    if led_on >0:
      print("led on")
      led.value(1)
      stateis = "LED is ON"

    if led_off >0:
      print("led off")
      led.value(0)
      stateis = "LED is OFF"

    response = html % stateis

    cl.send('HTTP/1.0 200 OK\r\nContent-type: text/html\r\n\r\n')
    cl.send(response)
    cl.close()

  except OSError as e:
    cl.close()
    print('connection closed')
#netman.py
import network, rp2
import time
def connectWiFi(ssid,password,country):
rp2.country(country)
wlan = network.WLAN(network.STA_IF)
wlan.config(pm = 0xa11140)
wlan.active(True)
wlan.connect(ssid, password)
# Wait for connect or fail
max_wait = 10
while max_wait > 0:
if wlan.status() < 0 or wlan.status() >= 3:
break
max_wait -= 1
print('waiting for connection...')
time.sleep(1)
# Handle connection error
if wlan.status() != 3:
raise RuntimeError('network connection failed')
else:
print('connected')
status = wlan.ifconfig()
print( 'ip = ' + status[0] )
return statusAP
import socket
import network
import machine

ssid = 'MicroPython-AP'
password = '123456789'

led = machine.Pin("LED",machine.Pin.OUT)

ap = network.WLAN(network.AP_IF)
ap.config(essid=ssid, password=password)
ap.active(True)

while ap.active() == False:
  pass

print('Connection successful')
print(ap.ifconfig())

html = """<!DOCTYPE html>
<html>
    <head> <title>Pico W</title> </head>
    <body> <h1>Pico W</h1>
        <p>Hello from Pico W.</p>
    </body>
</html>
"""

addr = socket.getaddrinfo('0.0.0.0', 80)[0][-1]
s = socket.socket()
s.bind(addr)
s.listen(1)

print('listening on', addr)
led.off()

# Listen for connections
while True:
    try:
        cl, addr = s.accept()
        print('client connected from', addr)
        request = cl.recv(1024)
        led.on()
        print(request)

        cl.send('HTTP/1.0 200 OK\r\nContent-type: text/html\r\n\r\n')
        cl.send(html)
        cl.close()
        led.off()

    except OSError as e:
        cl.close()
        print('connection closed')
树莓派cron 和 Crontab设置开机定时任务
树莓派默认系统下启动、重启、停止、查询状态的命令
service cron start
service cron restart
service cron stop
service cron status
树莓派默认系统下设置crontab【定时任务】为开机启动和开机不启动
systemctl is-enabled cron.service --- 查看crond是否为开机自启动
systemctl enable cron.service --- 将服务设置为开启启动
systemctl disable cron.service --- 关闭服务开机自启动
树莓派——Cron和Crontab(定时任务)
Cron是Unix系统的一个配置定期任务的工具,用于定期或者以一定的时间间隔执行一些命令或者脚本;可执行的任务范围可以是每天夜里自动备份用户的home文件夹,也可以每个小时记录CPU的信息日志。
crontab(cron table)命令用于编辑执行中的定期任务列表,并且操作是基于每个用户的,每一个用户(包括root用户)都拥有自己的crontab。
EDITING CRONTAB(编辑crontab)
运行crontab和-e选项来编辑cron table:
crontab -e
SELECT AN EDIROR(选择一个编辑器)
第一次运行crontab命令的时候会提示你选择一个编辑器。如果你不确定使用哪一个,你可以直接回车选择默认的nano编辑器。
每一项cron实体的内容都包含六个部分:分钟、小时、月份中的哪一天、年份中的哪一月、星期中的哪一天,还有定时执行的命令。
# m h  dom mon dow   command

# * * * * *  command to execute
# ┬ ┬ ┬ ┬ ┬
# │ │ │ │ │
# │ │ │ │ │
# │ │ │ │ └───── 星期中的哪一天(0-7)(从0到6代表星期日到星期六,也可以使用名字;7是星期天,等同于0)
# │ │ │ └────────── 月份 (1 - 12)
# │ │ └─────────────── 月份中的日 (1 - 31)
# │ └──────────────────── 小时 (0 - 23)
# └───────────────────────── 分钟 (0 - 59)
例如:
0 0 * * * /home/pi/backup.sh
这项cron实例将会在每一天的午夜执行backup.sh脚本。
*/5 * * * * sudo python /home/pi/Downloads/DDNS-master/run.py
这项cron实例将会每5分钟执行run.py脚本。