作为目前地表最强的python编译器,codon将python的执行速度提升了10-100倍并提供本地可执行二进制代码,遗憾的是官方并未照顾到广大树莓派爱好者的感受,未提供Raspberry OS环境下的执行程序,这里我从源码做了编译,提供给大家使用
sudo ./codon build -release -exe x.py
https://docs.exaloop.io/codon/advanced/build
http://cloud.buryin.com/wp-content/uploads/2022/12/codon-develop-2.zip
编译需要大量的交换空间,否则容易出错,因此先增加交换空间
sudo dd if=/dev/zero of=/swapfile bs=1G count=6
#count的大小就是增加的swap空间的大小,1G是块大小为1G,所以空间大小是bs*count=6G
sudo mkswap /swapfile  #把刚才空间格式化成swap格式
su
chmod 0600 /swapfile
sudo swapon /swapfile  #使用刚才创建的swap空间
sudo pip install Ninja --break-system-packages
sudo apt install cmake
git clone --depth 1 -b codon https://github.com/exaloop/llvm-project
cmake -S llvm-project/llvm -B llvm-project/build -G Ninja \
-DCMAKE_BUILD_TYPE=Release \
-DLLVM_INCLUDE_TESTS=OFF \
-DLLVM_ENABLE_RTTI=ON \
-DLLVM_ENABLE_ZLIB=OFF \
-DLLVM_ENABLE_TERMINFO=OFF \
-DLLVM_TARGETS_TO_BUILD=all
cmake --build llvm-project/build -j4
cmake --install llvm-project/build
sudo apt-get install clang
cd llvm-project
cd llvm
sudo sucmake -S . -B build -G Ninja \
-DCMAKE_BUILD_TYPE=Release \
-DLLVM_DIR=$(llvm-config --cmakedir) \
-DCMAKE_C_COMPILER=clang \
-DCMAKE_CXX_COMPILER=clang++
cmake --build build --config Release
cmake --install build --prefix=install
编译完成,释放临时增加的交换空间
swapoff -a
cd /etc/apache2/sites-available
cp 000-default.conf vhosts.conf
nano vhost.conf
<VirtualHost *:80>
        # The ServerName directive sets the request scheme, hostname and port that
        # the server uses to identify itself. This is used when creating
        # redirection URLs. In the context of virtual hosts, the ServerName
        # specifies what hostname must appear in the request's Host: header to
        # match this virtual host. For the default virtual host (this file) this
        # value is not decisive as it is used as a last resort host regardless.
        # However, you must set it for any further virtual host explicitly.
        ServerName cloud.nestpi.com
        ServerAlias cloud.nestpi.com
        DocumentRoot /var/www/cloud

        # Available loglevels: trace8, ..., trace1, debug, info, notice, warn,
        # error, crit, alert, emerg.
        # It is also possible to configure the loglevel for particular
        # modules, e.g.
        #LogLevel info ssl:warn

        # For most configuration files from conf-available/, which are
        # enabled or disabled at a global level, it is possible to
        # include a line for only one particular virtual host. For example the
        # following line enables the CGI configuration for this host only
        # after it has been globally disabled with "a2disconf".
        #Include conf-available/serve-cgi-bin.conf
</VirtualHost>


<VirtualHost *:80>
        # The ServerName directive sets the request scheme, hostname and port that
        # the server uses to identify itself. This is used when creating
        # redirection URLs. In the context of virtual hosts, the ServerName
        # specifies what hostname must appear in the request's Host: header to
        # match this virtual host. For the default virtual host (this file) this
        # value is not decisive as it is used as a last resort host regardless.
        # However, you must set it for any further virtual host explicitly.
        ServerName www.nestpi.com
        ServerAlias nestpi.com
        DocumentRoot /var/www/html

        # Available loglevels: trace8, ..., trace1, debug, info, notice, warn,
        # error, crit, alert, emerg.
        # It is also possible to configure the loglevel for particular
        # modules, e.g.
        #LogLevel info ssl:warn

        # For most configuration files from conf-available/, which are
        # enabled or disabled at a global level, it is possible to
        # include a line for only one particular virtual host. For example the
        # following line enables the CGI configuration for this host only
        # after it has been globally disabled with "a2disconf".
        #Include conf-available/serve-cgi-bin.conf
</VirtualHost>


# vim: syntax=apache ts=4 sw=4 sts=4 sr noet
sudo ln -s /etc/apache2/sites-available/vhosts.conf /etc/apache2/sites-enabled/
service apache2 restart
修改ddns解析配置config.json
{
  "$schema": "https://ddns.newfuture.cc/schema/v2.8.json",
  "debug": false,
  "dns": "alidns",
  "id": "LTAI",
  "index4": "default",
  "index6": "default",
  "ipv4": [],
  "ipv6": [
    "nestpi.com",
    "cloud.nestpi.com"
  ],
  "proxy": null,
  "token": "ZOGs",
  "ttl": null
}
如需改变默认网站根目录(/var/www),则需要修改文件apache2.conf 和000-default.conf(注意html目录)
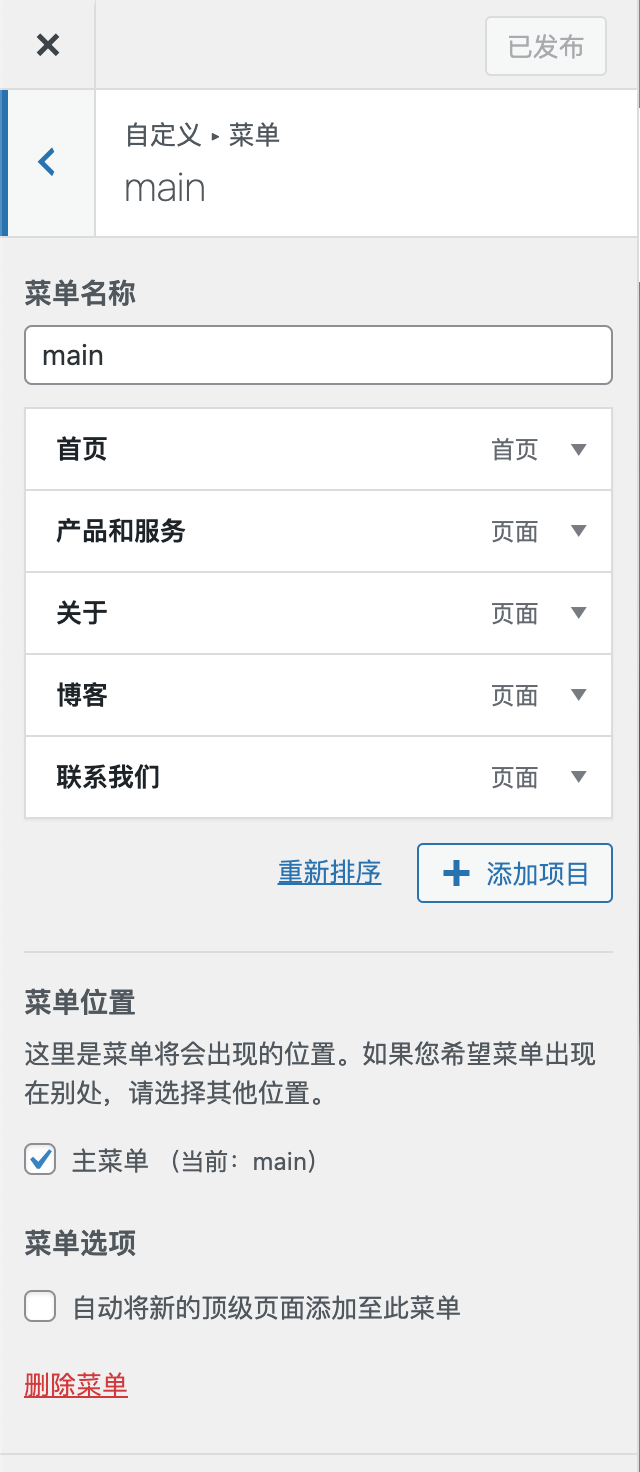
首先在菜单名单项下添加项目(需选中菜单位置选项的主菜单)

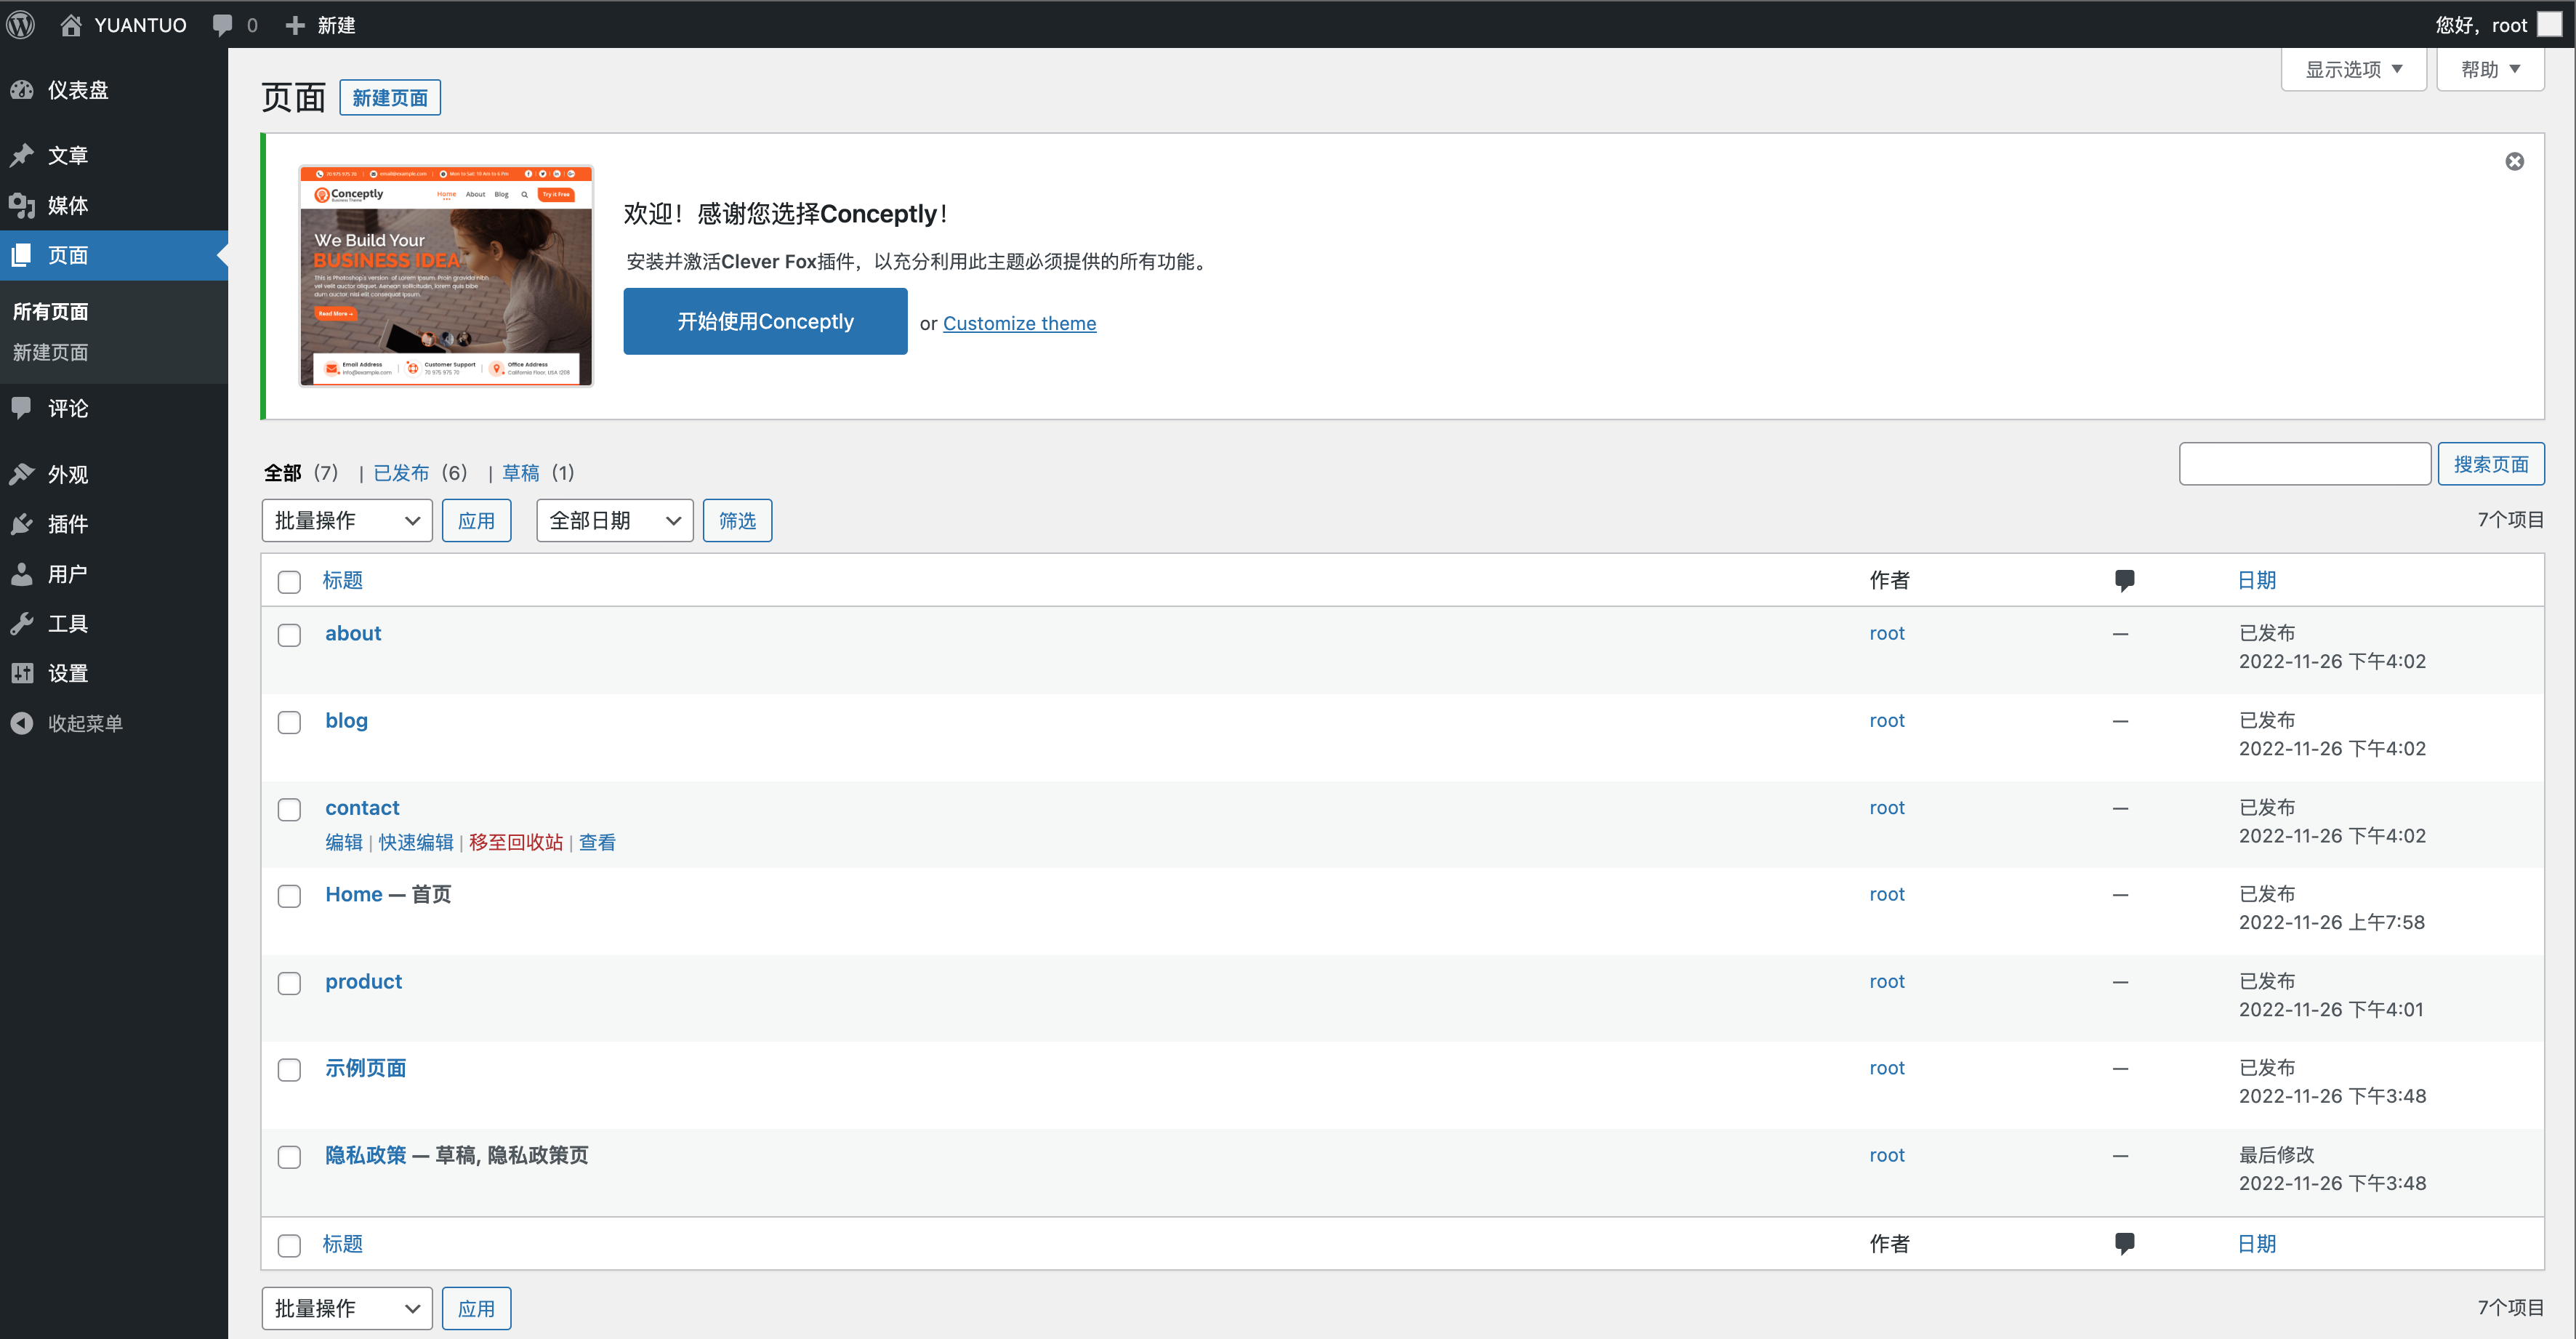
然后在页面中选中相关页面进行编辑

https://blog.csdn.net/m0_68554329/article/details/126248570
sudo apt update
sudo apt install xorg -y
sudo apt install lxde openbox -y
sudo apt install pix-icons pix-plym-splash pixel-wallpaper -y
sudo apt install raspberrypi-ui-mods -y
reboot
1、安装插件WP Extra File Types
2、在设置中添加需要上传的类型
3、进入媒体库,上传文件即可
安装Big File Uploads插件解决