在树莓派上截屏的方法很简单。首先在终端中用下面的命令安装名叫“scrot”的截屏工具。
sudo apt-get install scrot |
截取全屏幕执行:
sudo scrot |
用鼠标选区屏幕区域截取执行:
sudo scrot -s |
20秒后截取,参数可以自定义:
sudo scrot -d20 |
执行下面的指令可以查看更多用法:
sudo scrot -h |
在树莓派上截屏的方法很简单。首先在终端中用下面的命令安装名叫“scrot”的截屏工具。
sudo apt-get install scrot |
截取全屏幕执行:
sudo scrot |
用鼠标选区屏幕区域截取执行:
sudo scrot -s |
20秒后截取,参数可以自定义:
sudo scrot -d20 |
执行下面的指令可以查看更多用法:
sudo scrot -h |
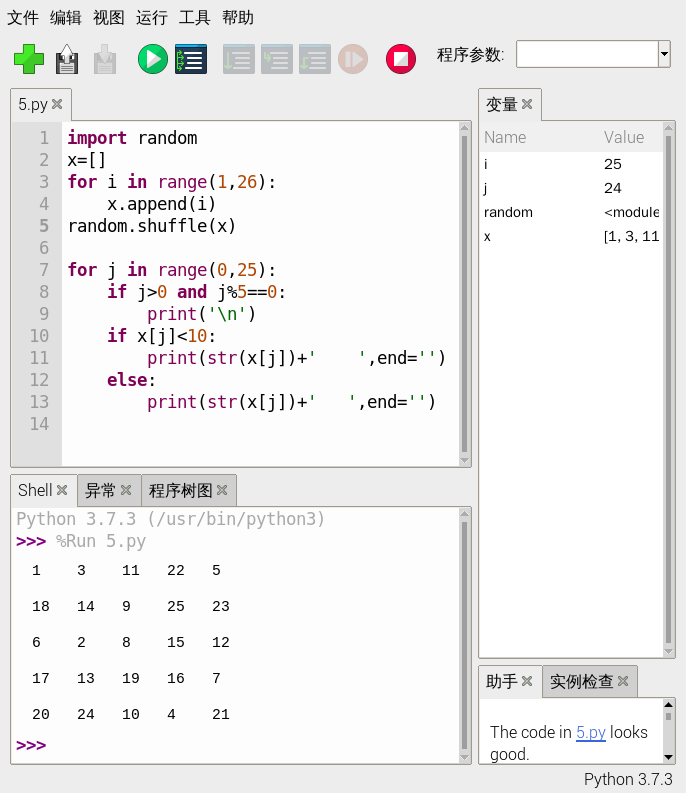
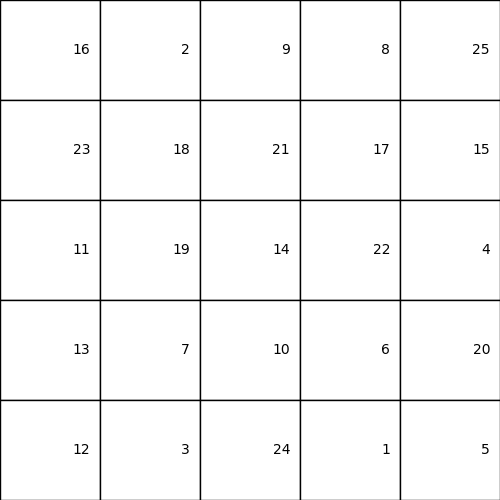
今天应儿子要求比赛专注程度,也就是将1-25个数字打乱后分配在5*5的格子里,然后比谁先能按数字顺序数完,失败多次后,我觉得他写的字不容易辨识,随后他提出我写个程序打印出来公平竞赛,写了python程序如下:
import random
x=[]
for i in range(1,26):
    x.append(i)
random.shuffle(x)
for j in range(0,25):
    if j>0 and j%5==0:
        print('\n')
    if x[j]<10:
        print(str(x[j])+'    ',end='')
    else:
        print(str(x[j])+'   ',end='')
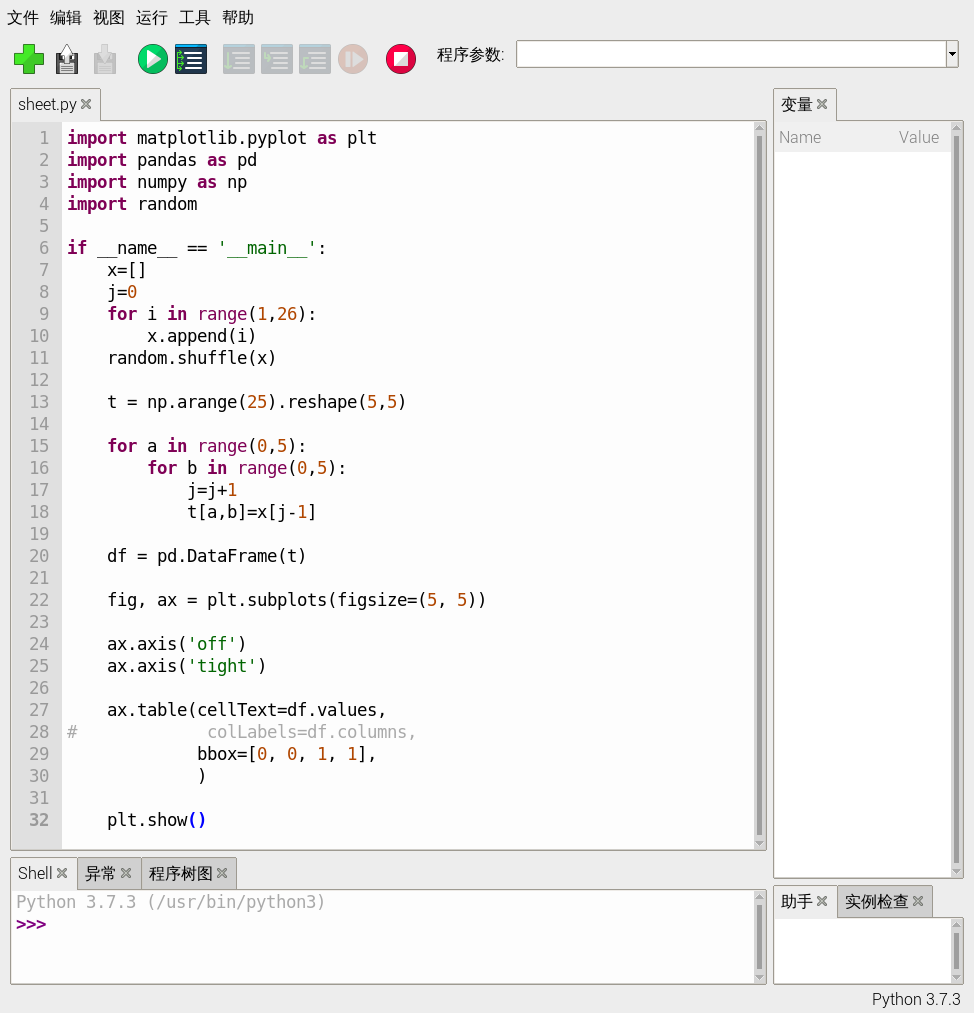
如果希望打印出来在纸上比试,可以
import matplotlib.pyplot as plt
import pandas as pd
import numpy as np
import random
if __name__ == '__main__':
    x=[]
    j=0
    for i in range(1,26):
        x.append(i)
    random.shuffle(x)
    t = np.arange(25).reshape(5,5)
    for a in range(0,5):
        for b in range(0,5):
            j=j+1
            t[a,b]=x[j-1]
    df = pd.DataFrame(t)
    fig, ax = plt.subplots(figsize=(5, 5))
    ax.axis('off')
    ax.axis('tight')
    ax.table(cellText=df.values,
#             colLabels=df.columns,
             bbox=[0, 0, 1, 1],
             )
    plt.show()
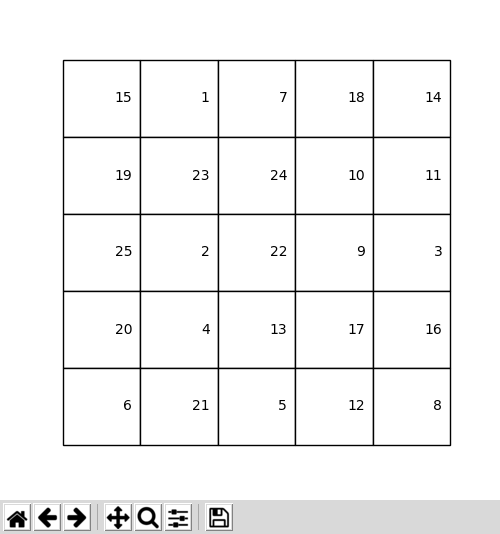
    如想去掉底部的工具栏并修改标题,代码如下:
import matplotlib.pyplot as plt
import pandas as pd
import numpy as np
import random
if __name__ == '__main__':
    x=[]
    j=0
    for i in range(1,26):
        x.append(i)
    random.shuffle(x)
    t = np.arange(25).reshape(5,5)
    for a in range(0,5):
        for b in range(0,5):
            j=j+1
            t[a,b]=x[j-1]
    df = pd.DataFrame(t)
    plt.rcParams['toolbar'] = 'None'
    fig,ax=plt.subplots(num="注意力测试",
           figsize=(5, 5),
           dpi=100,
           facecolor="white",
           edgecolor='green')
    ax.axis('off')
    ax.table(cellText=df.values,
             bbox=[0, 0, 1, 1],
             )
    plt.show()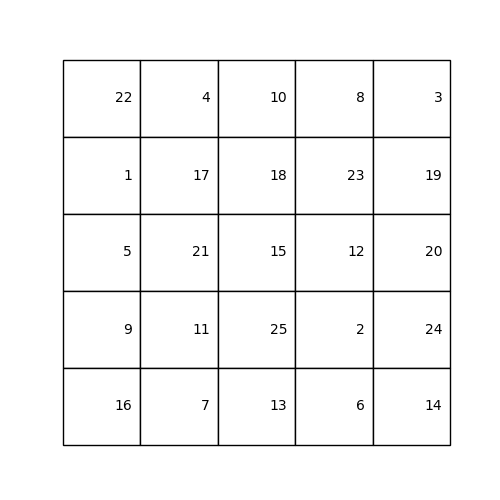
某些人对图像边框特别敏感,下面的代码去掉了图像白边:
import matplotlib.pyplot as plt
import pandas as pd
import numpy as np
import random
if __name__ == '__main__':
    x=[]
    j=0
    for i in range(1,26):
        x.append(i)
    random.shuffle(x)
    t = np.arange(25).reshape(5,5)
    for a in range(0,5):
        for b in range(0,5):
            j=j+1
            t[a,b]=x[j-1]
    df = pd.DataFrame(t)
    plt.rcParams['toolbar'] = 'None'
    fig,ax=plt.subplots(num="注意力测试",
           figsize=(5, 5),
           dpi=100,
           facecolor="white",
           edgecolor='black')
    ax.axis('off')
    # 去除图像周围的白边
    plt.subplots_adjust(top=1, bottom=0, left=0, right=1, hspace=0, wspace=0)
    ax.axis('tight')
    ax.table(cellText=df.values,
             bbox=[0, 0, 1, 1],
             )
    plt.show()
安装DOCKER 及 DOCKER-COMPOSE步骤
apt-get update
apt-get install -y python python-pip
apt-get install libffi-dev
sudo curl -sSL https://get.docker.com | shpip install docker
pip install docker-compose
树莓派5安装docker
sudo apt install docker
sudo apt install docker-compose大家都工作在手机、微信等平台上,文件传输要么微信、要么百度网盘,但这些对于树莓派爱好者非常不友好,各种文档文件在树莓派和手机或电脑之间传输成为一个烧脑的活,这里推荐大家使用奶牛快传,它非常方便地解决了跨平台的文件传输共享。
Raspberry Pi 宣布将开始向客户销售其自研的 RP2040 微控制器——其价格将从每片 1 美元降至 0.70 美元。他们声称,公司有足够的材料来制造2000 万个单元,以作为解决因竞争对手零件短缺而停滞不前的项目。
Raspberry Pi大约一年前在 Raspberry Pi Pico 开发板上推出了 RP2040 ,作为其内部芯片团队的第一款产品。RP2040 采用双核 Arm Cortex-M0+ 处理器设计、具有264kB 静态 RAM (SRAM)、一系列通用输入/输出 (GPIO) 引脚,包括 16 个脉冲宽度调制 (PWM) ) 支持、四个模拟输入、两个 UART、两个 I2C、两个 SPI 总线、一个内部温度探头、USB 支持和八个可编程输入/输出 (PIO) 状态机。

所有这些功能都在一个通孔和表面贴装开发板兼模块中提供,仅需 4 美元。当 Raspberry Pi 宣布将开始以 1 美元的价格自行销售这些芯片时,这让人们大吃一惊。从那时起,近百种由 RP2040 驱动的设计已经投放市场——现在 Raspberry Pi 的目标是让其他人更容易参与其中。
“我们正在推出 Raspberry Pi Direct,这项服务将允许人们一次直接从我们这里购买 RP2040 微控制器(即 500 个及以上),”Eben Upton 通过电子邮件告诉我们。“该芯片价格为 0.70 美元(3,400 off)和 0.80 美元(500 off),这甚至低于通过我们的认可经销商网络提供的 1 美元单件定价。”
“我们一直在帮助缺乏其他微控制器芯片的制造商企业临时迁移到 RP2040,随着芯片短缺进入第二年,我们觉得我们应该更广泛地推广它。我们手上大约有 2000 万台,还有更多在路上,所以希望我们能够度过剩下的短缺。”
Raspberry Pi Direct现在已在公司网站上上线,并且可以直接面向企业销售;想要购买这些零件的个人仍然被指向经销商网络,其中每个芯片的价格为 1 美元。
关于树莓派,有太多争议,有人说性价比不高,有人说速度太慢,有人说就是个吸尘器等等,但在种种不一样的声音下,树莓派得到了更快的发展,甚至有人认为它成就了英国(树莓派诞生于英国),目前树莓派在全球的用户达到了7000万。至今,
树莓派为代表的单板计算机得到大力发展,为linux提供了非常广泛的用户和丰富的生态,树莓派的出现有力推动了linux的普及。
毋庸置疑,树莓派是个好的产品和系统

树莓已成一派
从此海阔天空